
As the cold months of winter begin, many fly anglers look to the vise as a way to occupy them during the off season. For some, this winter will be their first time giving tying a shot. Getting into the hobby can be intimidating, and without a plan of attack, new tiers often get confused or lost. It doesn’t have to be this way, though! Follow these super-simple tips, and you’ll be all set to spin some feathers all season long.
Take advantage of the internet. When I was just starting out with fly tying, all I had was an old tying kit from the 80’s and the instructions that went along with it. After days of attempting to piece together the black-and-white pictures and confusing instructions, I was ready to quit. At that point, I didn’t even know how to start my thread on the hook! Little did I know that there was a wealth of knowledge waiting for me by simply using Google. Today, fly tiers are extraordinarily lucky to have many skilled and helpful teachers across the web. If you just got some tools and materials and are looking to get started, I would suggest heading over to YouTube and looking up tightlinevideo. Tim Flagler, the man behind the camera, is not only incredibly knowledgeable, but also a superb teacher. Check out his playlist of 60-second tying videos to learn the basics for tying every fly pattern imaginable. Once you learn the basics, you can begin experimenting with different patterns. There are hundreds, if not thousands, of blogs, databases, YouTube Channels, and other resources available to learn some of the basic flies every tier should know. It’s quite impressive, really, just how much this old-timey hobby has adapted to fit modern-day life. While old books and instruction manuals are still credible sources that shouldn’t be overlooked, we now have crazy amounts of helpful information at our fingertips for free.
Don’t spend a fortune on tools. With the amount of available tools out there, it is easy to quickly spend much more than your budget allows. Fly tying doesn’t have to be super expensive, as long as you know where you should spend money, and where you can save it. My number-one tip for saving money is always to learn to whip-finish by hand. A whip-finish, the knot you use to finish a fly before cutting your thread, is often done with the aid of a device called a whip-finisher. The knot; however, is incredibly easy to do by hand if you give it a little bit of practice. Again, you can find out how to do it by looking online. Other than that, I would suggest getting some entry-level tools that will get the job done while you determine if you like tying or not. Bobbins, bodkins, hackle pliers, and a half hitch tool can all be bought for fairly cheap, and while the price of a vise can be intimidating, it should not be overlooked. You don’t need a $300 vise quite yet, but I promise you you’ll be disappointed if you don’t spend at least a little bit of money in this department. A vise should be able to firmly hold a hook while the pressure from the thread is applied, and it also shouldn’t be impossible to firmly secure the hook. In other words, if you’re struggling against the handle of the vise to get a decent grip on the hook, then you should keep looking. Bad vises can cause massive amounts of frustration because the hook could pop out of the jaws during the middle of tying. Another place to not skimp is on scissors. Scissors should be sharp and durable, otherwise you’ll find yourself tying messy flies, and having to replace scissors frequently. There are different types of scissors for different purposes, but in general, look for two styles to get started: a smaller pair with a fine tip for cutting thread, hackle stems, and other thin materials, and another, longer, sturdier pair for cutting coarse materials like deer hair and synthetics. If you’re still confused as to what tools to start off with, companies like Loon make some really nice kits that are a little pricey, but get the job done in style.
Find a few key patterns you want to tie, then get the materials for those. This may seem obvious, but some beginners go out and buy materials willy-nilly. By selecting some basic patterns first, you ensure that you will have the materials to tie at least a small selection of well-known flies rather than having to dig through random websites for some obsolete fly from the early 1900’s that has the materials you purchased. Obviously, you’re going to want to base the flies you tie on the fish you fish for and the areas you fish in. I would say flies usually fall into one of six categories: nymph, dry fly, streamer, wet fly, warmwater, or saltwater. Decide what type of flies you’re going to be using most often, then get the materials to tie some of those. If I had to recommend one simple fly for each of those categories, I would say a weightless hare’s ear, griffith’s gnat, wooly bugger, partridge & orange, school bus yellow perch thunder creek, and clouser minnow. These flies all teach the basic techniques of tying, and the materials required to tie them can also be used in a multitude of other patterns. If you really like fishing a specific fly, then get the materials to tie that! Honestly, you will never run out of materials to buy, so start simple. You could only use three materials forever and still be a great tier because they would force you to get creative and think of new techniques.
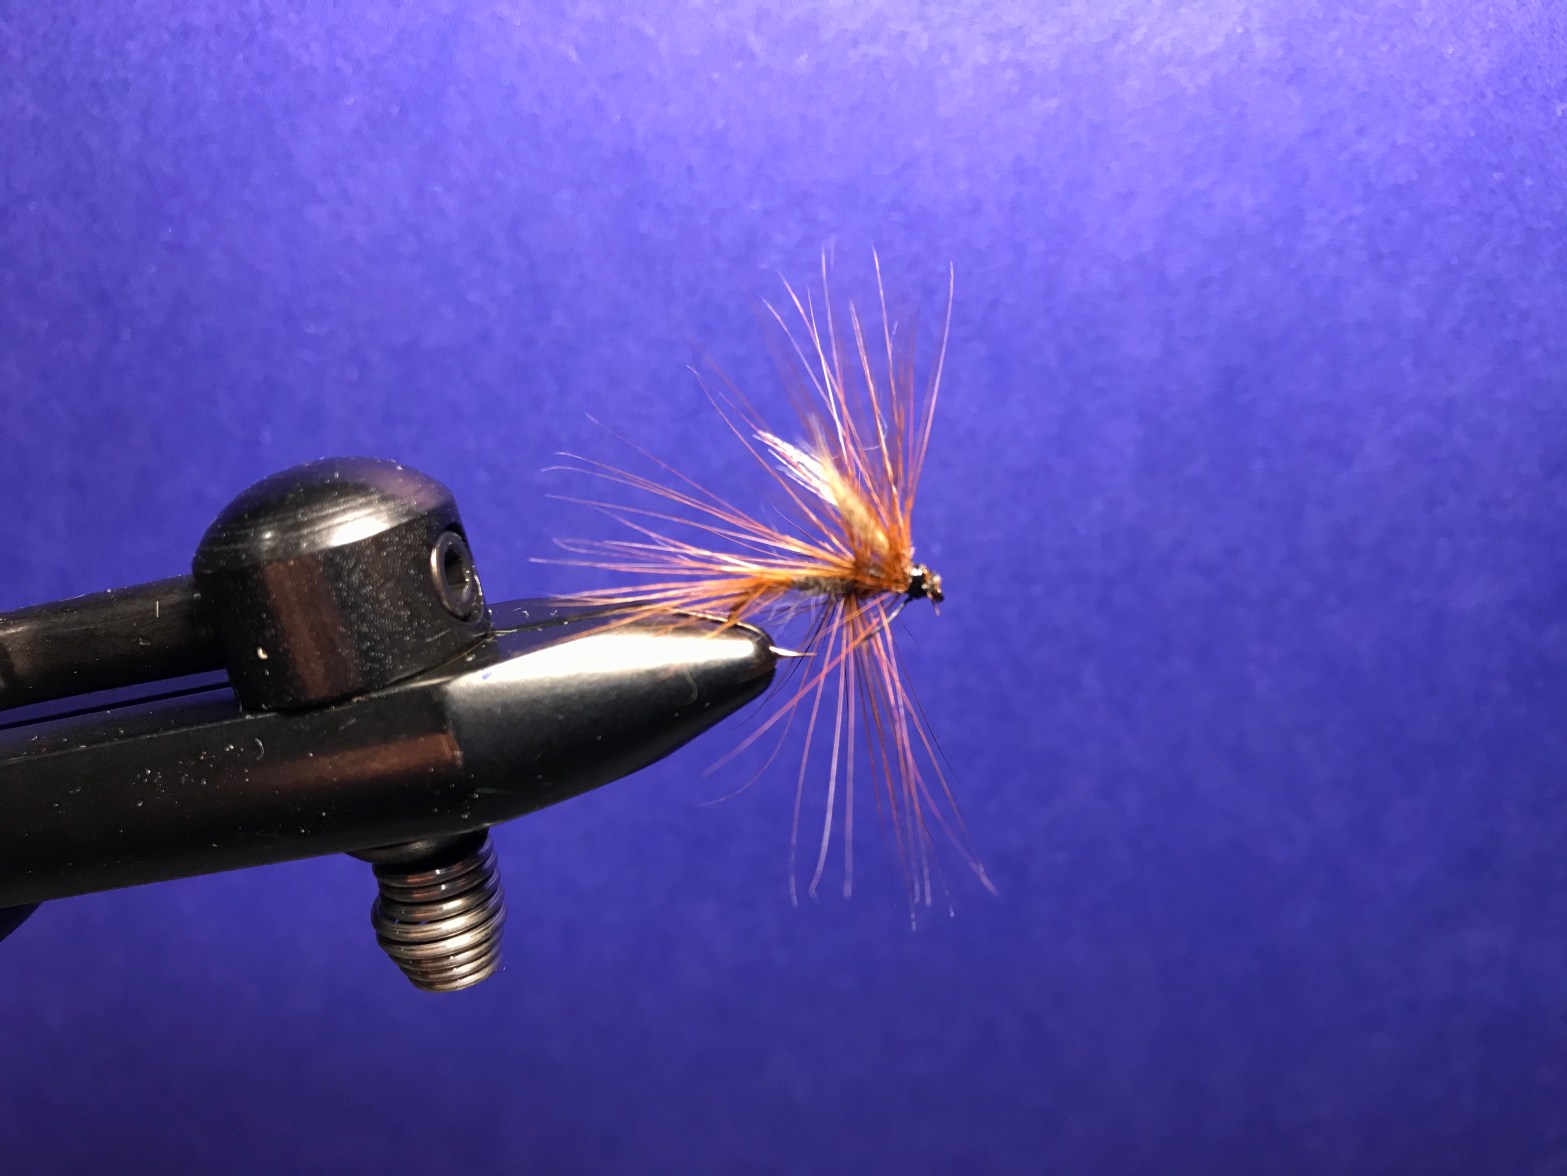
Expect to fail at first. As with anything you’re trying for the first time, you will invariably fail at some point. This often means getting creative with expletives as you try to figure out why the fly tying gods hate you so much. Your flies will look like a steaming pile of dog poop in a birds nest, your thread will snap as your putting a whip finish on your best fly yet, and you will lose dozens of expensive hooks and beads at various places throughout the room. As you can probably see from the thumbnail of this post, my first attempts at tying were not spectacular. The hackle was too big, the wings too small, the tail too long, and the head too bulky. And that fly was tied after months of practice. It is not easy, but with some patience and determination, it is possible to make these fails much less common. Even the greatest tiers in the world still make these, and countless other, mistakes fairly often. Your success simply depends on how often you tie, because, as always, practice makes (almost) perfect. You have to remember that even the terrible flies will catch fish, even if its just a bluegill. Have fun behind the vise, because it sure beats working.
Stay organized. If you asked any fly tier, they could go on and on about how they organize their materials, but by and large, their desk is usually a mess. We can pretend that staying organized helps keep a neater space, but that doesn’t explain why I often lose my scissors under a mountain of marabou. Nonetheless, material and tool storage is crucial. It’s always best to at least have a dedicated desk to contain most of your tying to. You’ll also want some drawers to keep various materials in. I’m lucky enough to have my great-grandfathers tying bench that I keep on a card table. At first, it provided plenty of space, but I have recently found that I need some more space. In addition to the drawers on the bench, I now have a plastic three-drawer set that I use as overflow storage for my most frequently used materials. On top of the bench, I keep a board with dozens of small wooden pegs to hold my spooled materials like thread and wire. Along the rest of the top of the bench not occupied by the pegs is a cork board to keep recently tied flies and my streamer collection. It may sound complicated, but all you really need if you’re starting out is somewhere to put your vise, and a couple shoe boxes to keep various other items. As you progress, you can add more to your arsenal, until eventually, you start finding random feathers and fur halfway across the house. You’ll notice that I am far from perfect, and will never be. Sometimes it can even be fun to organize your stuff to take a look at some of your past work and see how much you’ve progressed.

There’s no doubt that getting into fly tying can be mind-boggling. With numerous tools and materials, not to mention the brands that go along with them, it can feel overwhelming. Don’t try to take it all in at once. Fly tying is a hobby that takes time to truly appreciate, and in no way should it be rushed. Don’t feel the need to turn it into a production, where speed is a necessity. Especially at first, each fly should take a good amount of time to ensure that you’re getting the most out of the time spent at the bench. Tap into your creative side, and take inspiration from other patterns. Some of the greatest flies of all time don’t even look like anything in nature, but instead looked great in someone’s imagination. Stick with it, and your fly boxes will soon be bursting at the seams.
